Home Kiss Professional Products Get the Look Mastering Dip Powder Nails at Home with KISS: Your Ultimate Guide


Mastering Dip Powder Nails at Home with KISS: Your Ultimate Guide

Save major time and money and DIY it.

All products featured on Beautify.tips are independently selected by our editors. However, when you buy something through our retail links, we may earn an affiliate commission.

Olena Yakobchuk/Shutterstock

You’re scrolling through Instagram, envying those stunning dip powder nail creations, but the thought of shelling out big bucks at the salon every few weeks feels less appealing. Sound familiar? As your resident DIY queen, I’m here to remind you that you totally don’t need an expensive and time-consuming trip to the salon to achieve gorgeous dip powder nails at home. With the right tools and a bit of know-how, you can take control of your nail game and unleash your inner nail artist.

Ahead, I delve into everything you need to know about dip powder nails and show you how to DIY a fresh set using my favorite KISS products. Say goodbye to expensive salon visits and hello to beautiful, long-lasting nails that you can proudly flaunt on Instagram.

What is Dip Powder?

Dip powder nails have taken the beauty world by storm, and for good reason. Unlike traditional nail polish, dip powder is a long-lasting, durable alternative that provides a flawless finish without the need for UV lamps. It involves a process of layering finely milled colored powder onto your nails, creating a strong, chip-resistant manicure that can last up to three weeks.

What makes dip powder even more enticing is its versatility – you can achieve a wide range of designs, from simple elegance to intricate nail art. Plus, it’s known for being less damaging to your natural nails compared to other nail enhancement methods. With its stunning results, durability, and the ability to customize your look, it’s no wonder dip powder nails have become a go-to choice for nail enthusiasts worldwide.

Why DIY?

At a nail salon, getting a dip powder manicure can typically cost anywhere from $40 to $70 or even more, depending on your location and the salon’s reputation. The entire process usually takes about 1 to 1.5 hours, including the application and drying time. However, when you opt to do it yourself at home with quality products like KISS, you not only save a significant amount of money but also precious time. Investing in an initial kit might cost you around $20 to $30, but the subsequent use of individual dip powder colors and essentials is much more budget-friendly.

Additionally, DIY dip powder nails allow you to work at your own pace, experiment with various designs, and save hours of travel time to and from the salon. So, not only does it save you money, but it also gives you the freedom to be your own nail artist on your schedule.

@longhairprettynails Do you want to know how I did these cute short nails? I used the @kissproducts Kiss Salon Dip Color System. I love that this kit is easy to use, and results last up to 2 weeks. #kissnails #KissPartner #sponsored ♬ original sound - LongHairPrettyNails
How to Dip Powder at Home
Step 1: Gather Your Tools

Before we dive into the step-by-step process, let’s make sure you have all the essentials. Here are two must-have KISS products for your at-home dip powder nail journey:

  1. KISS Salon Dip Starter Kit: This kit is your ultimate dip powder nail companion. It includes everything from dip powder, activator, and brush-on gel to nail glue and a dipping tray. It’s a fantastic starting point for beginners.
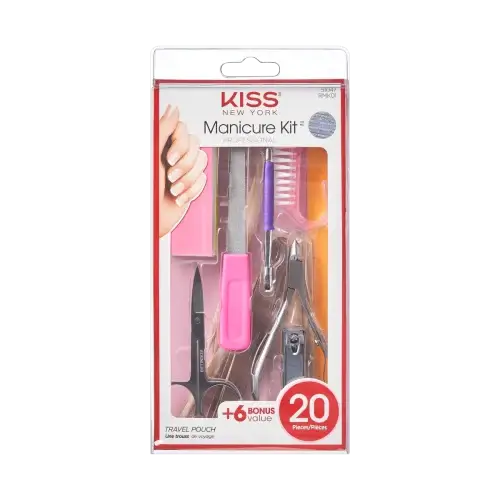
  2. KISS Manicure Kit: Pro quality 14-piece at-home and travel manicure kit has all you need for complete nail grooming and touch-ups.

Step 2: Prep Your Nails

Before you start dipping, it’s crucial to prep your nails properly:

  • Begin by removing any old nail polish and trimming your nails to your desired length using the KISS Nail Clipper.
  • Gently push back your cuticles with a cuticle stick.
  • Use a KISS file to shape your nails and create a smooth surface.
  • Apply a thin layer of KISS Nail Primer to your nails to help the dip powder adhere better.
Step 3: Apply the Base Coat

Now, let’s get into the dipping process:

  • Brush on a thin, even layer of KISS Dip Powder Base Coat to one nail, making sure to avoid the cuticle area.
  • While the base coat is still wet, dip your nail into the KISS Dip Powder of your choice at a 45-degree angle. Tap off any excess powder.
  • Repeat the dipping process with each nail, one at a time, until you’re satisfied with the color intensity.
Step 4: Activate and Shape
  • Once your nails are dipped and looking fabulous, apply a coat of KISS Brush-On Gel Activator to set the powder.
  • After a minute or so, your nails will harden. Use a KISS file to shape and smooth the surface, ensuring they’re even and flawless.
Step 5: Seal the Deal
  • Finish your DIY dip powder nails by applying a layer of KISS Dip Powder Top Coat. This will add shine and protection to your manicure.
  • Allow the top coat to dry for a few minutes, and voilà! You’ve got stunning dip powder nails that are salon-quality, all from the comfort of your own home.

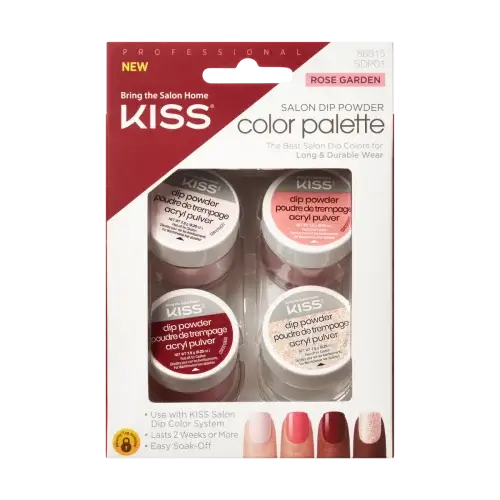
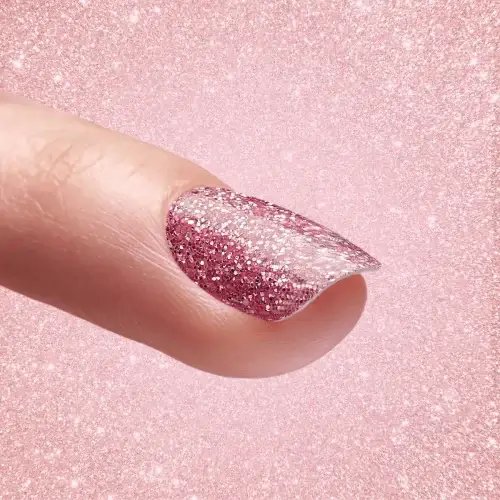
Editor’s Note – Once you have mastered the application process, you can go ahead and get creative with additional colors. I love SALON DIP COLOR PALETTE PROFESSIONAL in Rose Garden  and  the SALON DIP GLITTER KIT in Be Glam.

Nail Your DIY Dip Powder Game with KISS

Dip powder nails may seem like a daunting task, but trust me, if I can do it, anyone can! With the right products and a bit of practice, you’ll be amazed at the salon-worthy results you can achieve on your own. Plus, you’ll have the satisfaction of knowing you did it yourself. With a little creativity and some self-expression, you can elevate your nail game and truly make your mark in the world of beauty and nail art. Your nails, your rules!

author avatar
Janene Mascarella