
It’s the most wonderful time of the year…and the most hectic! Seriously, who has time to sit for hours at the salon during holiday season?! My favorite way to mani: applying false nails at home. Whether you’re into pressies (press-on nails you can apply in minutes), or glue-on nails (self-explanatory and so incredibly easy to do), you can get a festive and flawless mani in a flash.
Let’s face it, false nails are faster, easier, and WAY less expensive than a trip to the salon. They’re ready-to-wear, easy to remove, and best of all, won’t smudge when you reach in your handbag to pay the tip. In fact, with DIY nails, you keep the tip!
Here’s the deal: I see my nails as an extension of a fashion accessory and TBH, I often put on an outfit to match my manicure, not quite the other way around. I pre-plan a Monday ‘kick off the week’ outfit, and since I usually wear my faux nails for about a week, I change my whole outfit and nail vibe accordingly the following week. But now that’s it’s officially holiday season, and I do plan to take lots of party pictures (ahem, selfies), I really want to my nails to stand out and get noticed.
In terms of nail lengths and shapes, well, I usually love them sculpted, long-to XL-long, but lately I have been wearing medium length square nails, and I have to say, they look amazing on! I like to mix it up; sometimes my nails are cute and demure, and other times I go XL long diva. That’s the beauty of these nails…after a week you can totally change your entire vibe, sans spending hours at the salon.
In truth, I usually don’t partake in holiday-themed nail art (I’m typically a solid color or French mani kind of girl) but for some reason this year, I’m so excited to go all Christmassy and add some snowflakes, sparkles and truly embrace the glitz and glam of the holiday season. Are ya with me?
Office parties, holiday happy hours, rocking around the Christmas tree…keep scrolling to see seven of my favorite ways to get my merry on. (Oh, and did I mention these manis are all under $10. About the same price as your Peppermint Mocha Latte with an extra pump. You’re welcome!)
KISS Gel Fantasy Sculpted Holiday Nails – Look Like Xmas
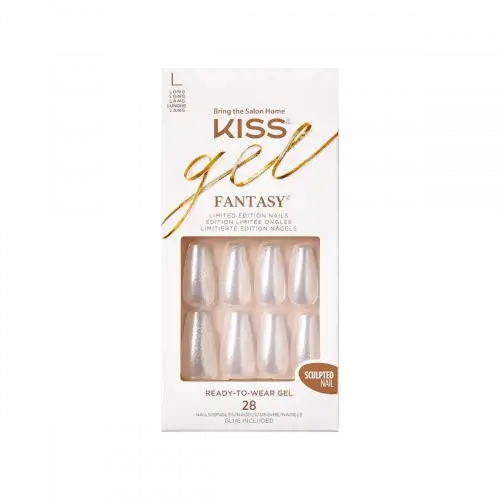
KISS Special Design Limited Edition Holiday Nails – Puffy Sweater
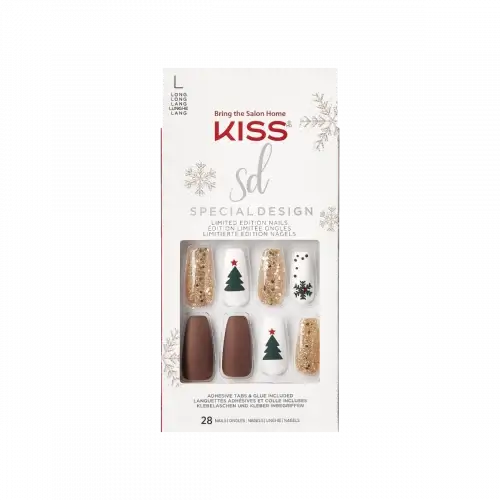
KISS Gel Fantasy Limited Edition Holiday Nails – Glow Up
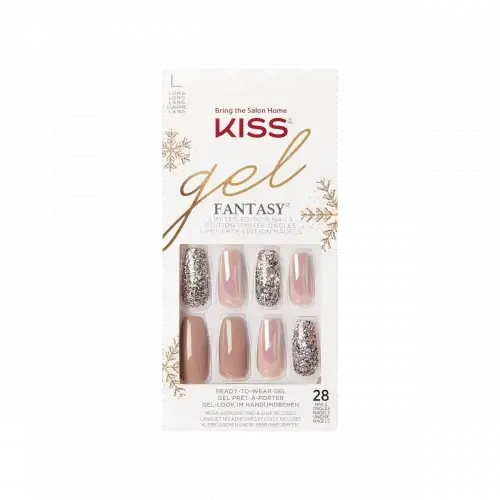
KISS Special Design Holiday Nails – Angels
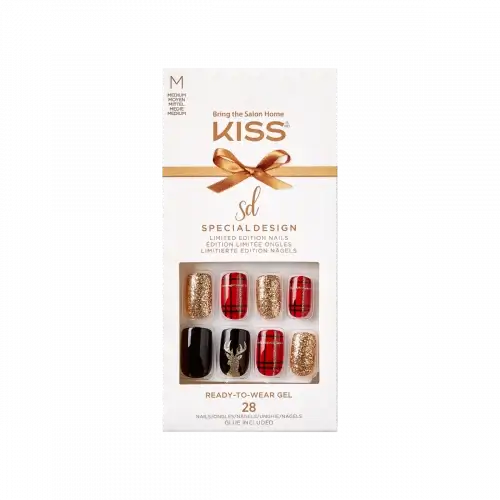
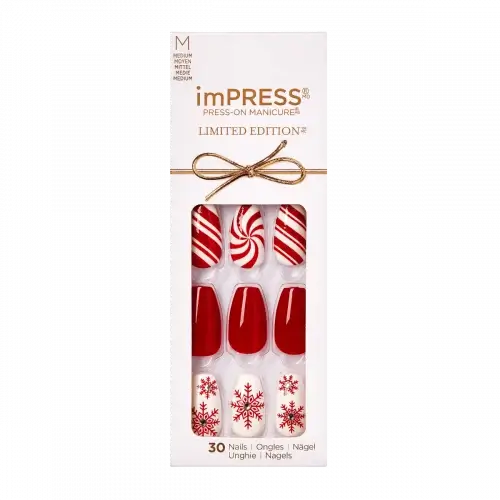
imPRESS Limited-Edition Holiday Press-On Nails – Tis the Season
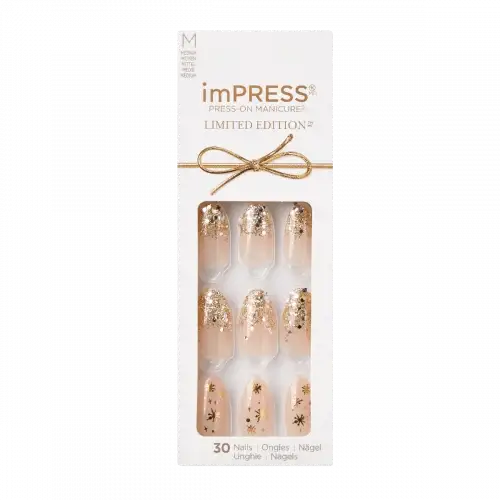
imPRESS Limited-Edition Holiday Press-On Nails in Sparkling Snow
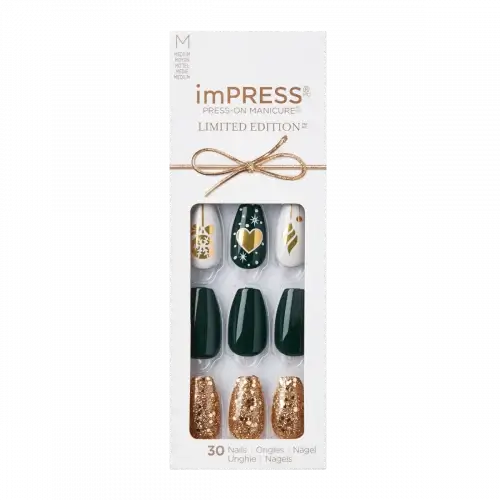
imPRESS Limited-Edition Holiday Press-On Nails – Deck the Halls
HOW TO APPLY GLUE ON NAILS
PREP: Clean nails with nail polish remover and wash hands thoroughly with soap; select correct size nail for each finger and set aside in order. Nails are sized by number, noted underneath nail. I also swipe my nails with a cotton pad saturated in rubbing alcohol. This helps remove any excess oils on your nail beds.
GLUE: Apply glue to back of artificial nail. Apply glue to natural nail. Align with cuticle, gently press on and hold for five seconds. Be sure to apply enough glue to avoid air pockets, secure adhesion, and extend wear.
REMOVE: Trim and file surface to disrupt protective top coat. Soak nails in acetone polish remover until soft. Wipe off softened nails and glue. Do not force or pull nails off.
HOW TO APPLY PRESS-ON NAILS
SIZE: Prior to application, align nails with tab sides facing your cuticles and find the correct size for each nail (jot down the # found on the tab on each nail–1 is largest, 11 is smallest–for future use.) If you are in between sizes go smaller, not larger.
PREP: Wash hands with soap and water and dry thoroughly. Use included cuticle stick to push back any excess skin. Wipe nails with the enclosed prep pad (the most important step), to clean nails for better adhesion. (You can use rubbing alcohol in place of or in addition to prep pad.)
APPLY: Peel backing from nail then press it down on your natural nail, in the center and at both sides at the same time. Hold for 30 seconds.
BONUS BEAUTIFY TIPS (FOR BOTH)
- Don’t miss the prep steps! This makes the world of difference. Make sure your cuticles are pushes back and your nail beds are squeaky clean to they stick on properly and last up to a week.
- Be sure to press-on or glue on your thumb nails last. (Trust me on this one!) I like to work from my pinky fingers towards my thumbs.
- It’s best to wait at least an hour to wet hands. I like to apply my nails before I go to sleep at night, to ensure plenty of time for adhesive to works its magic.
- PLEASE don’t be impatient when you want to remove them. I like to use use KISS Glue Off ($5.99). This handy-dandy multitasking tool removes glue on and press-on nails in minutes without soaking time or damage from trying to pull nails off.
