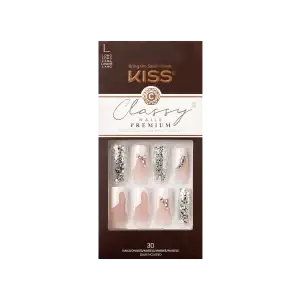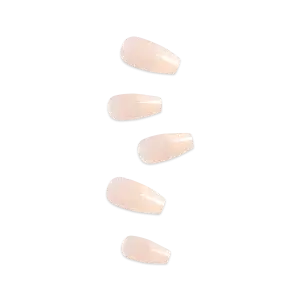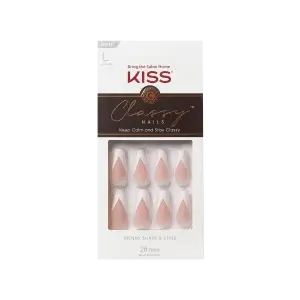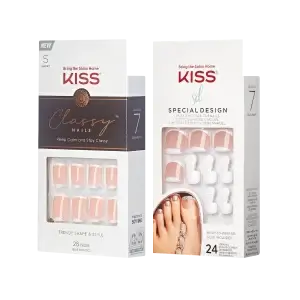
Your false nail questions answered: Here’s how to apply like a pro – no air pockets, no bubbles!
Anyone who knows me knows that I am a French manicure girl, and not always a simplistic one! Sometimes classic, other times, I like my French mani to have a modern modern twist… but if you know you know. Speaking of iykyk, anyone who applies artificial nails with a nude-transparent nail knows that if you don’t do just right, you will get air bubbles and air pockets, making for a not-so cute completed manicure look. So how do you prevent this? The million-dollar question, with a very simple solution. It’s all in the way you apply the glue. That’s it my friends, but let’s get into it, shall we?
With any press-on nail, proper prep and application are key, and of course with that includes sizing of the nails too. Here’s how I get the most magnificent French manicure with seamless application for a long lasting manicure that doesn’t lift for up to a week.
Step 1
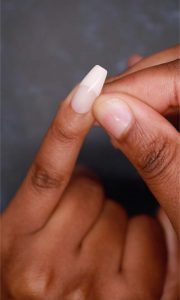
Select the nail sizes that fit over your natural nails best. If you are in between sizes, always go for the smaller of the two sizes, since the nails do tend to expand once you press them on. The nails should sit on your nail bed and not over it, dabbing in or over your cuticles. If this happens, your nails are sure to pop off and won’t last you even a day.
Step 2
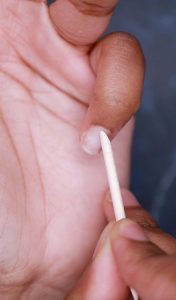
Once you have found your perfect nail sizes and laid them out, it’s now time to prep your natural nails. You’ll want to apply the artificial nails on your natural nail beds, clean and free of any lotions, polishes, etc, you should have a completely bare naked nail for application. If this is you, let’s now push back the cuticles. It’s not necessary to cut your cuticles however I highly recommend you push back your cuticles for a really beautiful application of your artificial nails.
Step 3
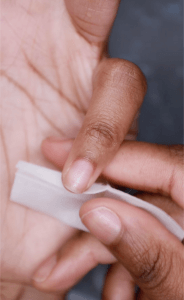
Now that your nail bed is bare and cuticles pushed back, clean your nail bed with an alcohol wipe or acetone. Note, do not use nail polish remover as many of these include other ingredients that can sit on your nail plate and void the adhesion of the glue. The alcohol or acetone will also help to remove excess oils from your nails, which will help you get a longer lasting adhesion. If you tend to have oilier nail beds, I know a lot of people have also used nail dehydrators and have had success with this too.
Step 4
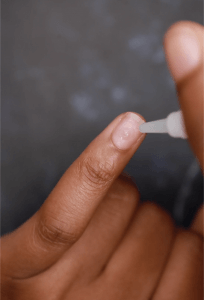
The moment you’ve all been waiting for, the nail glue application. This is the turning point of your press-on nail application journey. To apply glue with no air bubbles or air pockets, you will need to apply a drop of nail glue not only to your natural nail but also to the belly of the artificial nail. Doing this will help void any spaces, hence the air pockets and bubbles you may see through the transparency of the nails. So when you apply the drop of nail glue to your own natural nail, feel free to spread that out evenly on your natural nail, and then apply a tiny drop of glue to the belly of the artificial nail, doing the same, spreading it out.
Step 5
It is now time to apply the nail and this is another key point for perfect application. You’ll want to apply the false nail at an angle, applying and pushing lightly into the cuticle of your nail and gradually pulling and pressing down through the tip, and then applying pressure in the center of the nail and side to side. Doing all of this should prevent any air bubbles and pockets.
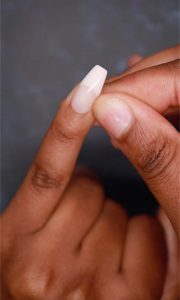
Repeat this step for each and every one of your nails until you have flawlessly applied your frenchies!

