As a beauty editor for nearly two decades, I’ve had the incredible opportunity to interview some of the top makeup artists in the industry and test out countless beauty trends on myself. One of my all-time favorite makeup techniques that I picked up from experts and beauty insiders is the cut crease.
It took me some time, practice, and a lot of blending, but I’ve finally mastered it. Ahead, I’m sharing my step-by-step guide, complete with tips, tricks, and product recommendations, to help you achieve this stunning eye makeup look, no matter your eye shape.
A Brief History of the Cut Crease
The cut crease trend has its roots in the 1960s, when bold, dramatic eye makeup became a symbol of feminine power and glamour. Iconic beauties like Twiggy and Audrey Hepburn popularized the look, using sharp lines and contrasting colors to define their eyelids and make their eyes appear larger and more expressive. Since then, the cut crease has evolved and made a major comeback in recent years, thanks to social media and the rise of beauty influencers. It’s become a go-to technique for adding depth and dimension to the eyes, and it’s perfect for both everyday looks and special occasions. Keep scrolling to learn how to master the perfect cut, even if you are a begginger.
Step-by-Step Guide to the Perfect Cut Crease
Prime Your Lids: Start with a clean, dry eyelid. Apply an eye primer to ensure your eyeshadow stays put all day. A good primer will also help the colors pop.
Define Your Crease: Using a fluffy blending brush, apply a transition shade (a matte shade slightly darker than your skin tone) into your crease. This will be your guide for the cut crease.
Deepen the Crease: With a smaller, more precise brush, apply a darker shade into the crease to add depth. Blend it outwards for a seamless transition.
Cut the Crease: Take a flat, synthetic brush and a concealer or a cream eyeshadow base. Carefully carve out the crease, starting from the inner corner and following the natural shape of your eye. This creates a sharp, defined line.
Apply Lid Color: On the lid, apply a lighter eyeshadow shade or a shimmer to contrast the cut crease. Blend the edges with the crease color for a seamless look.
Define the Lower Lash Line: Use the same transition shade to define the lower lash line. For added drama, you can use the darker crease shade on the outer corner.
Finish with Liner and Mascara: Complete the look with eyeliner and mascara. For an extra pop, add a highlighter to the inner corner of your eye and brow bone.
@michellekdoria Easy cut-crease makeup tutorial for hooded eyes ✨ Sharp cutcrease hack: @michellekdoria 🌸Makeup•beauty #cutcreasetutorial #cutcreasehack #makeuphacks #hoodedeyesmakeup #beginnermakeuptutorial ♬ original sound - michellekdoria 🌸Makeup•beauty
Tips and Tricks for Different Eye Shapes
- Hooded Eyes: Create the cut crease slightly above your natural crease to make your eyes appear larger.
- Monolid Eyes: Focus on creating a gradient of colors from your lash line upwards to create the illusion of depth.
- Almond Eyes: You’re lucky! Most cut crease styles will suit your eye shape. Just follow your natural crease.
- Round Eyes: Extend the cut crease outwards to create a more elongated, almond-like shape.
Products I Love to Create the Perfect Cut Crease
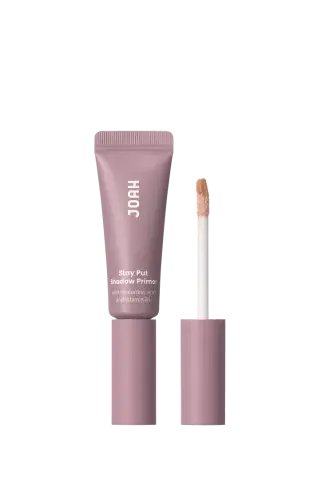
JOAH Beauty Stay Put Shadow Primer ($7.99, Joahbeauty.com)
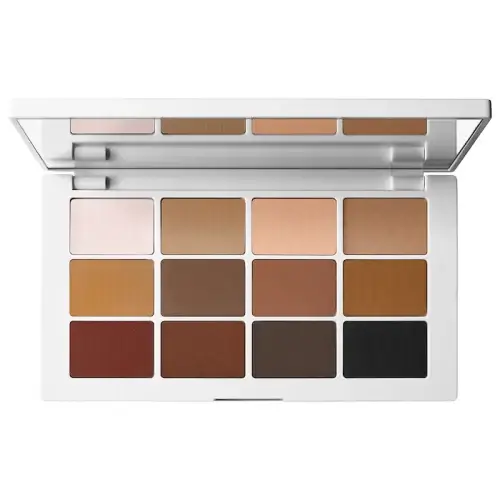
MAKEUP BY MARIO Master Mattes Eyeshadow Palette ($50, Sephora)
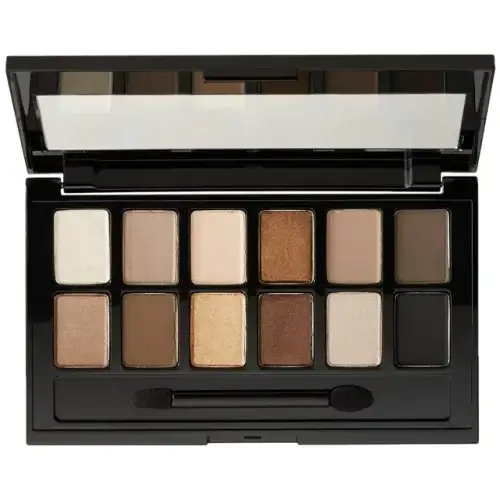
Maybelline Eyeshadow Palette, The Nudes, 12 Shade Palette ($11.98, Walmart)
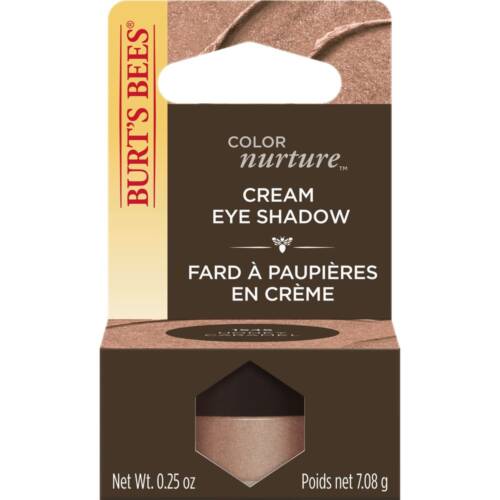
Burt’s Bees Color Nurture Cream Eye Shadow ($9.99, CVS)
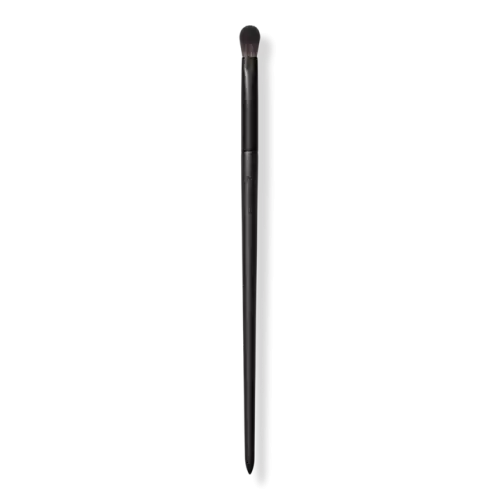
Morphe V206 Domed Crease Eyeshadow Brush ($9, Ulta)
